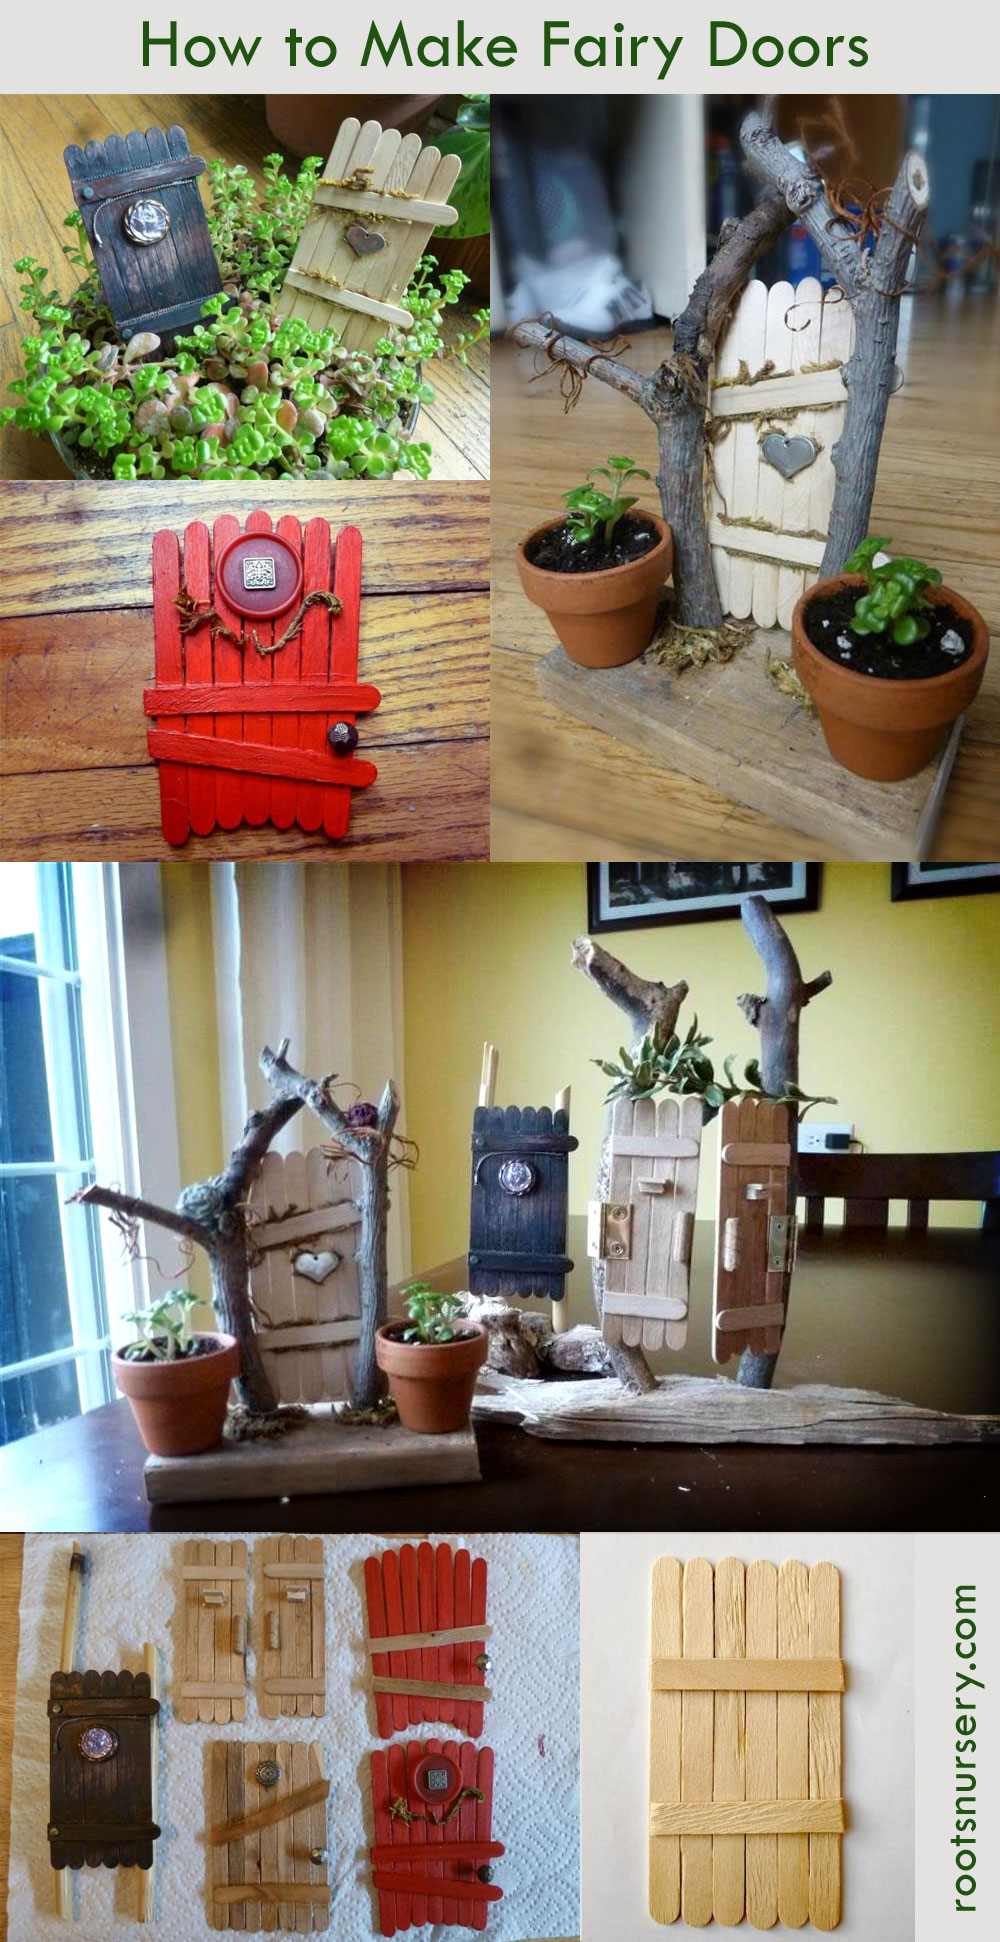
Making fairy doors is quick, satisfying and so much fun to do with the kids! They’re really easy to make. In a few minutes, you’ll be a pro, and you’ll have durable fairy doors you can bring (and leave!) outside. You can get really creative with this. Here are the instructions in a nutshell.
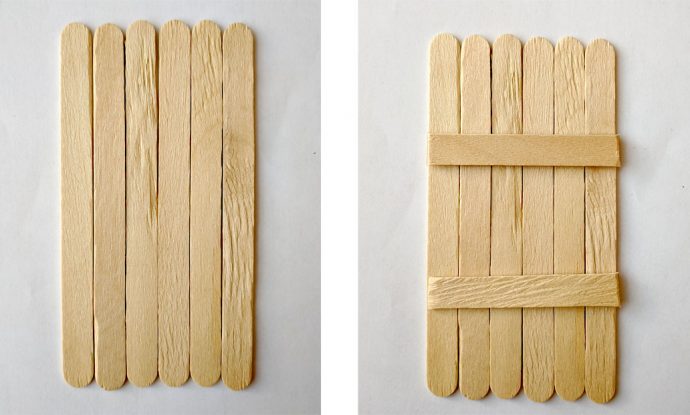
- Align 6 or 7 popsicle sticks vertically.
- Measure and cut two popsicle sticks the horizontal width of the door.
- Glue both popsicle sticks across horizontally to hold it all together.
- Paint or stain the door.
- Add embellishments like moss, jewelry, or a tiny thumbtack doorknob.
- Display your door in the fairy garden or nail to a tree.
I was so impressed with how great popsicle stick fairy doors look, I had to try it myself. I quickly found myself making more and more!
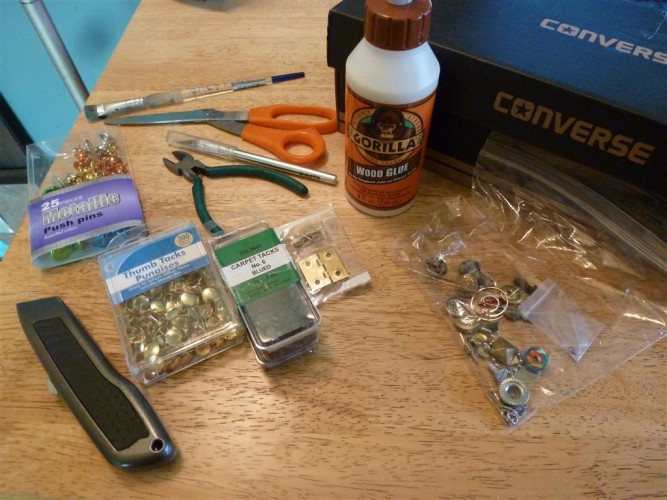
Step 0. Gather your crafty stuff from around the house… Look through your craft bins, sewing tins, junk drawers, etc. Look for popsicle sticks, buttons, thumbtacks, jewelry, beads, glitter… A ‘fairy door shoebox’ filled with tools and goodies, will quickly become something you never knew you needed in your life.
Picking the Right Glue
Whilst crafting, it’s normal to grab the hot glue gun and go. But the glue I chose for my fairy doors was important because they needed to be durable enough to hold up to the elements outside. So, I started with Gorilla Wood glue, with hopes that it would hold daily watering of my fairy garden containers. Plus rainwater, harsh wind, and scorching sun so prevalent here in my backyard/nursery.
Gorilla Wood Glue is rated for indoor/outdoor use with Type2 water resistance, but what I like about this glue is that it sets quickly and there’s no foam like with regular gorilla glue.
UPDATE: Gorilla wood glue is the perfect glue for wood projects to be kept outdoors. I left the doors out all winter to be sure they would survive the elements. And they DID! But just because they can doesn’t mean you should. They got super dirty, So I would bring them in the garage over winters to come. In the end, Gorilla wood glue passed my outdoor elements test and I’m very happy with this choice. I bought this bottle on Amazon.
How to Make a Fairy Door: Construction
Making a fairy door is a rather straightforward process. Lay popsicle sticks out to create the design you want. Cut two cross pieces to hold it all together and glue. I used a box cutter to cut the pieces. You probably can get away with a good pair of scissors.
Next, pick out cool buttons, charms from old jewelry, beads, fake moss from the dollar store, and glue them on in a pleasing way. Be as creative as you like. The options are limitless.
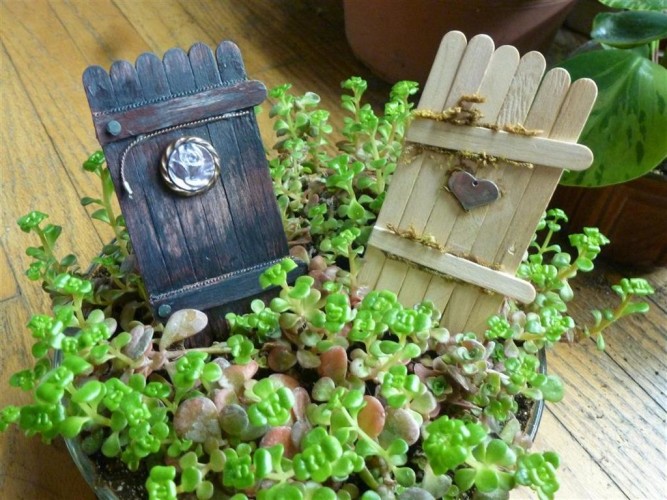
Here, I used wood stain on some, acrylic paint on others, and left some bare wood.
The first two came out pretty cute, especially for how quick and easy they were to make. To get the buttons to lay flat, I cut a small hole in the door with an Exacto knife and glued the button in.
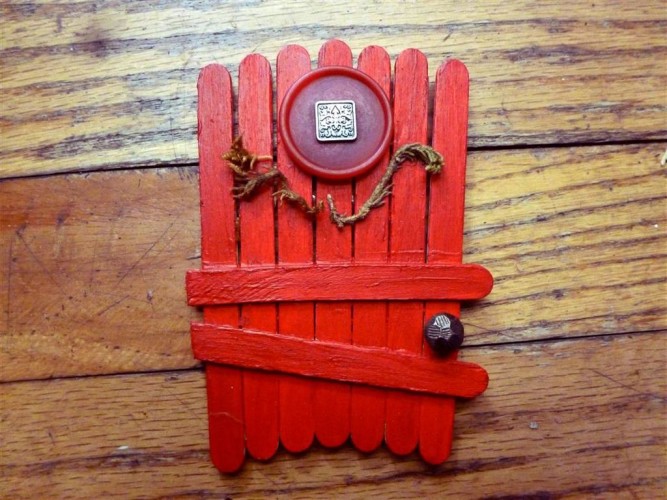
Then, add some color! I have a thing for red doors. After posting this picture on Facebook, I learned some fascinating things about red doors.
“Feng shui says that they are good luck.” “In China, it’s a tradition to paint the front door red before the new year, to invite good luck and happiness.” “In Catholicism, the red door on a chapel symbolized the blood of Christ to signify that the ground inside the church was holy, and a sanctuary from physical and spiritual evils.” “In Ireland, front doors are painted red to ward-off ghosts and evil spirits.”
I had no idea! But I do know that red fairy doors are awesome!
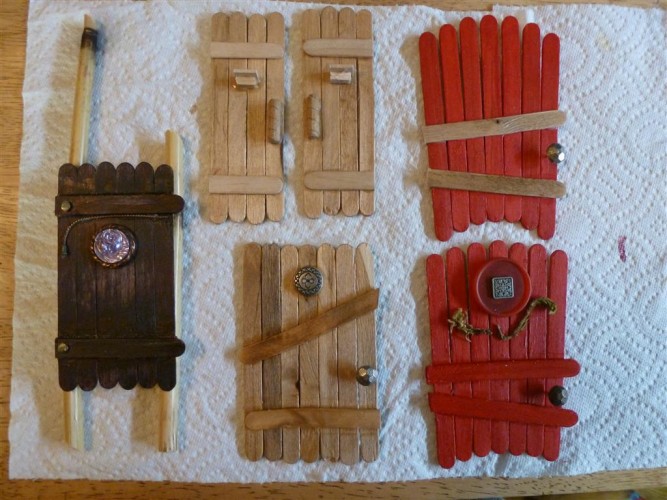
Like I said, making these fairy doors was so quick and easy, I just kept going, loving every minute of it. Honestly, you can make 4 or 5 in a little over an hour. It’s fun to see projects come to fruition in so little time, and turn out super cute even for a beginner!
At this point, I had a question. How do you get these things to stand up?
You could EASILY glue a stick, piece of wire, or another popsicle stick to the back, protruding out the bottom so that you can just stick it in the dirt. And that would have been just fine. But I was on a roll and wanted to go the extra mile.
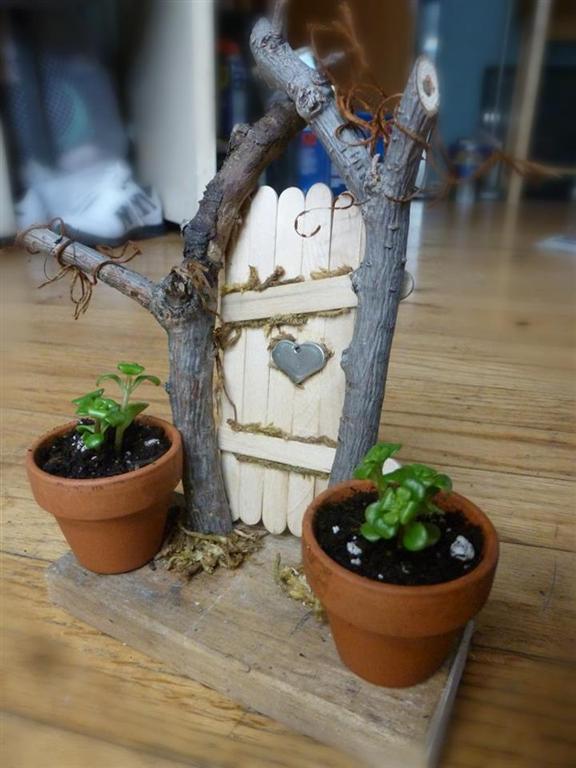
Most fairy doors I’d seen were attached to a tree, but I wanted to put them in containers. So I did some searching and I found the most impressive fairy garden doors Ive ever seen. It’s elaborate and breathtaking with a ton of little details to look at.

I was inspired to say the least!
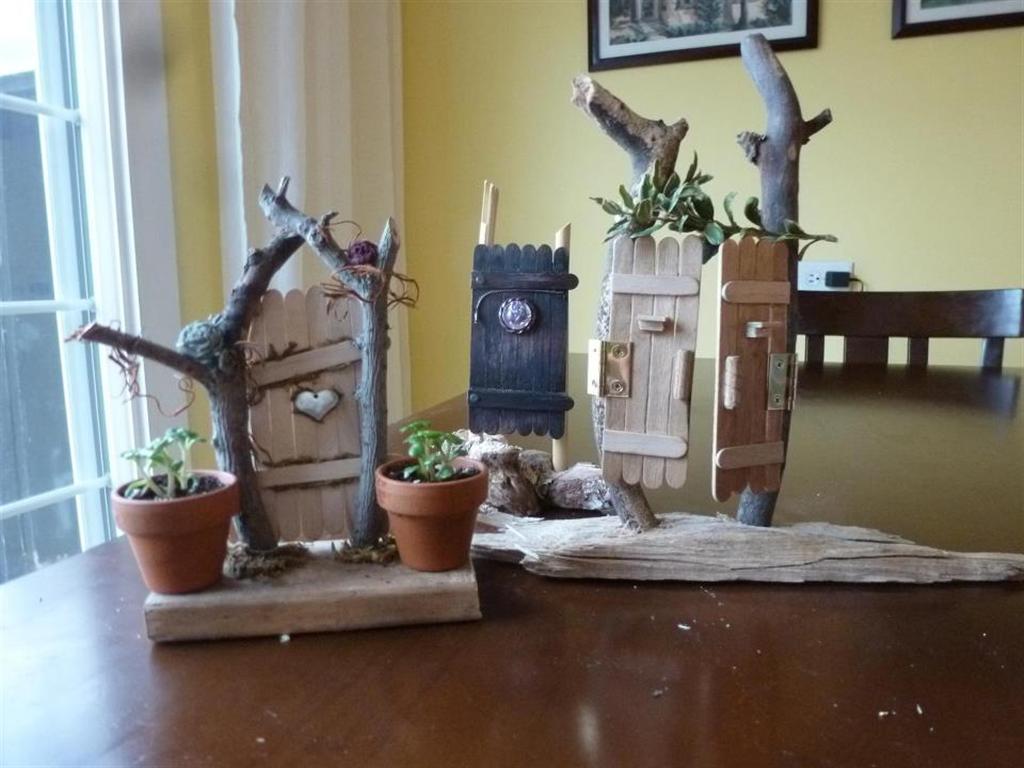
Since I had my hole-boring drill bit kit out to build our hoop house cold frame (and I didn’t have to go outside in 20-degree weather to get it) I had the idea to attach the doors to branches. Which I also had a box of inside. Don’t ask.
So I glued the doors to branches that were trimmed to the right height. Then, I found a drill bit about the width of the branch and drilled holes in a base of scrap wood. Filled the holes with glue. Stuck in some broken branches…and voila! This is what I came up with.